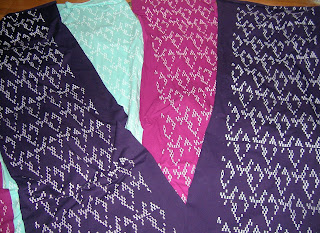


 i plan on posting a video of my screen printing process but for now, a few images and a step-by-step overview will have to do. above is an image of some of the frames i use. i try to keep a collection of different sized frames for various projects.
1. the screens must be coated with photo-sensitized emulsion and left to dry in a dark space.
2. next then the design must be printed in all black and placed backwards on the screen to be burnt using some type of UV light source.
3. once the image is burned, you must rinse the screen to reveal the design (the remaining emulsion acts as a stencil). once the screen has dried, it's time to print.
4. attach your frame to your hinge clamps (http://www.dickblick.com/products/speedball-deluxe-hinge-clamps/) and register your print by using the transparency in which you used to burn your images as a guide. this will allow you to identify where your print will line up on whatever you choose to print.
5. add some ink (i use water-based fabric ink, it's softer and green... http://www.dickblick.com/products/speedball-water-base-textile-screen-printing-inks/) to the top and bottom of your frame and make a few passes at (the number will vary depending on the detail and line-weight of your design) and don't forget to flood your image before setting up your next print. this will prevent the ink from drying in your screen which can ruin it.
6. once finished printing, the screens must be rinsed immediately.
7. after the prints have dried, the ink must be cured so it can be washed (to do this, many print houses use flash dryers, but if you're like me, a household iron will do the trick).
voila! now, you can enjoy your new print(s).
No comments:
Post a Comment